1 ½ cups (3 sticks / 340g) unsalted butter, at room temperature
2 ½ cups (500g) granulated sugar
5 large eggs, at room temperature
1 teaspoon pure vanilla extract
¾ cup (180ml) full-fat sour cream or plain Greek yogurt, at room temperature
3 cups (375g) all-purpose flour, spooned and leveled
1 cup (85g) natural unsweetened cocoa powder (not Dutch-processed*)
½ teaspoon baking powder
½ teaspoon baking soda
1 teaspoon fine sea salt
1 cup (240ml) buttermilk, at room temperature
The Simple Glaze (Optional but Glorious):
½ cup (85g) semi-sweet chocolate chips
¼ cup (60ml) heavy cream
A pinch of salt
*A Note on Cocoa: Using natural cocoa powder (which is acidic) with the baking soda is key for a perfect rise and that classic, almost reddish-brown chocolate flavor. If you only have Dutch-processed cocoa, substitute the baking soda with an additional ½ teaspoon of baking powder.
The Method: A Labor of Love (That’s Mostly Waiting)
This cake rewards patience and attention to detail. Preheat your oven to 325°F (165°C). Generously grease and flour a 10-12 cup Bundt pan or two standard 9×5-inch loaf pans. Do not skip the flouring—this is a sticky batter.
H3: Step 1: Creaming to Perfection
In the bowl of a stand mixer fitted with the paddle attachment (or with a hand mixer), beat the softened butter on medium speed until it’s very pale and creamy, about 3-4 minutes.
With the mixer running, gradually add the sugar. Beat on medium-high for a full 5-7 minutes until the mixture is incredibly light, fluffy, and almost white. This step is non-negotiable—it creates the cake’s fine texture.
H3: Step 2: Incorporating the Eggs & Base
Add the eggs, one at a time, beating well after each addition and scraping down the bowl. The mixture may look slightly curdled after the last egg—that’s okay.
Beat in the vanilla extract and sour cream until just combined.
H3: Step 3: The Dry & Wet Dance
In a separate bowl, whisk together the flour, cocoa powder, baking powder, baking soda, and salt.
With the mixer on low, add the dry ingredients to the butter mixture in three parts, alternating with the buttermilk in two parts, beginning and ending with the dry ingredients. Mix only until the last streak of flour disappears. Overmixing is the enemy of tenderness.
H3: Step 4: The Bake & The Critical Cool
Spoon the thick, luxurious batter into your prepared pan(s). Smooth the top.
Bake for 70-90 minutes (for a Bundt) or 55-65 minutes (for loaves). The cake is done when a long wooden skewer inserted into the center comes out with just a few moist crumbs attached. The top will be crackly and firm.
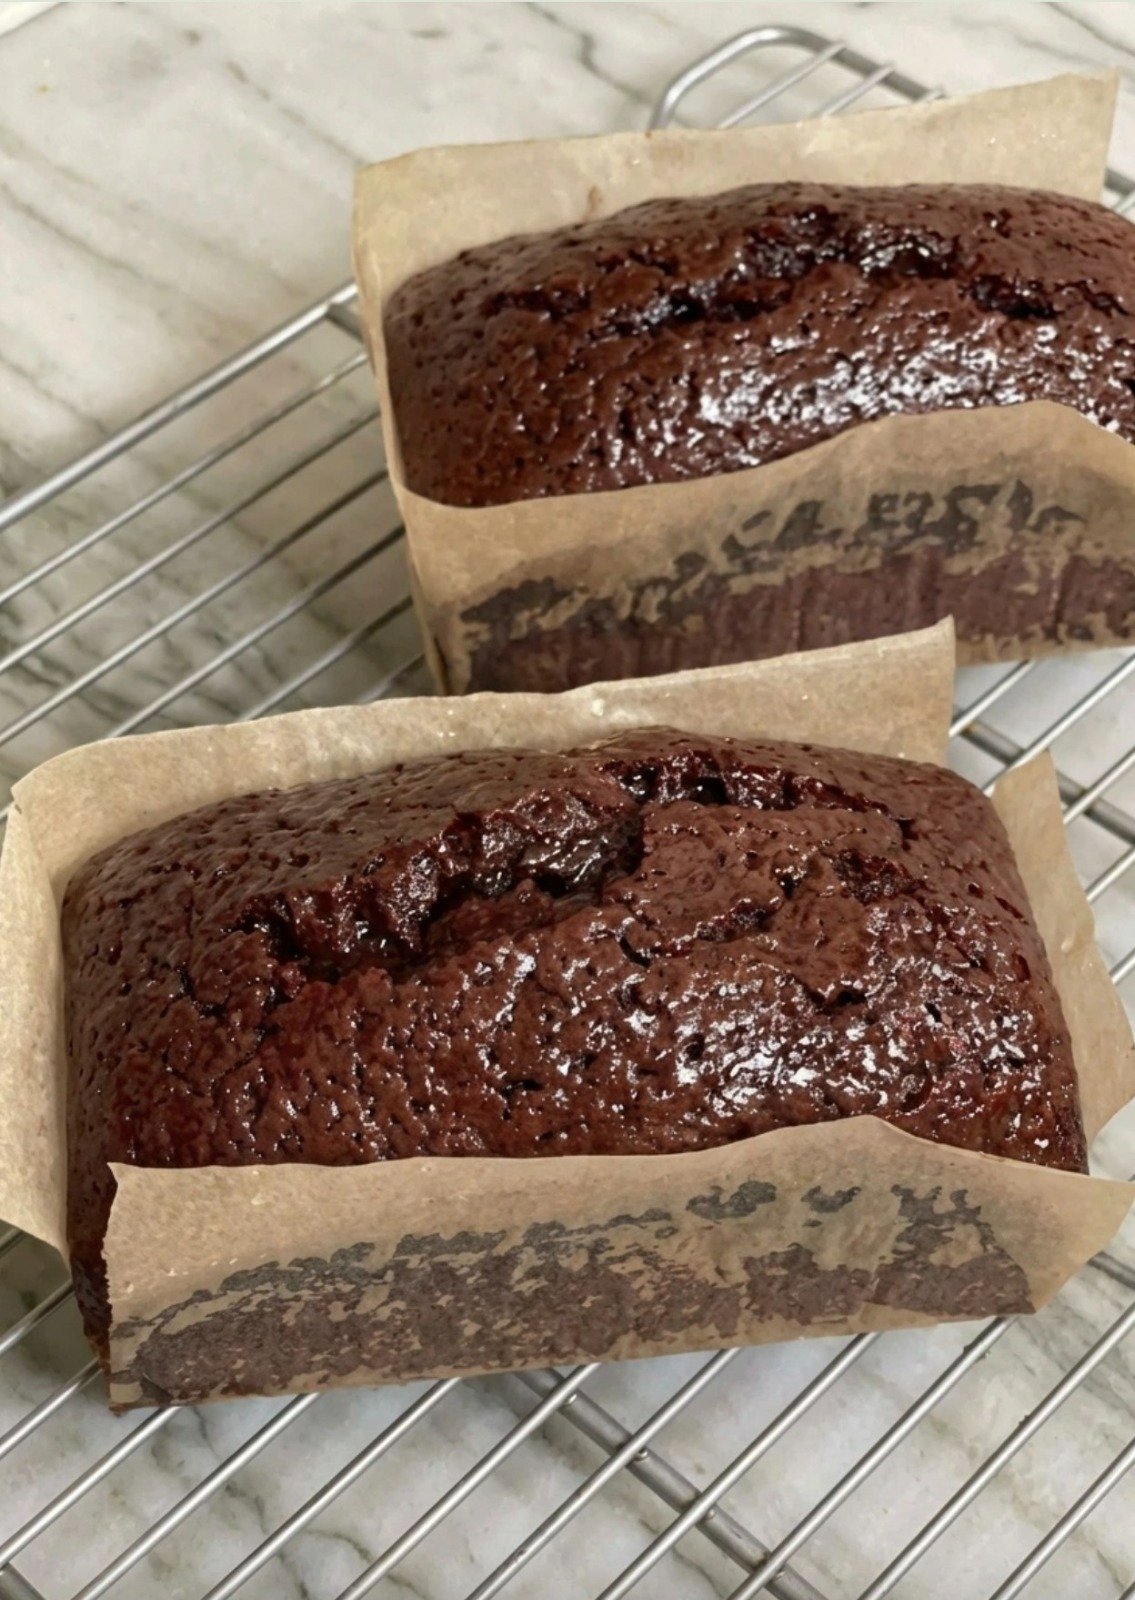
This is vital: Let the cake cool in the pan on a wire rack for 25 minutes. Then, carefully invert it onto the rack to cool completely. A warm pound cake is fragile and will tear.
H3: Step 5: The Simple Glaze
When the cake is cool, place chocolate chips and salt in a heatproof bowl. Heat the cream until it just begins to simmer, then pour it over the chocolate. Let sit for 2 minutes, then whisk until smooth.
Drizzle artfully over the cooled cake. Let set for 15 minutes before slicing.
H2: Baker’s Wisdom: Tips for a Flawless Cake
Room Temperature is Key: Cold ingredients don’t emulsify properly, leading to a dense cake. Take the time to let everything sit out for an hour.
Don’t Rush the Creaming: The extended creaming time incorporates air, which is your main leavening agent in this dense batter.
The Low & Slow Oven: A moderate 325°F ensures the center bakes through without the edges burning. Use an oven thermometer to confirm your temperature is accurate.
The Cool-Down: Respect the cooling time. Slicing into a warm pound cake will result in a gummy texture. It’s worth the wait.
H2: Serving & Storing Your Masterpiece
Serve: A naked slice is perfect. For extra indulgence, add a dollop of barely sweetened whipped cream or a scoop of vanilla bean ice cream.
Store: Once completely cool, wrap tightly in plastic wrap. It will stay supremely moist at room temperature for 3-4 days. It also freezes beautifully for up to 3 months. Thaw overnight on the counter.
H2: Your Chocolate Pound Cake Questions, Answered
H3: My cake is dense and didn’t rise much. What happened?
Likely culprits: ingredients weren’t at room temp, the butter and sugar weren’t creamed long enough, the leavening agents were old, or the batter was overmixed after adding the flour.
H3: Can I use a different pan?
A classic tube pan or two loaf pans work best. A 9×13 pan will yield a thinner cake and require less baking time (start checking at 40 minutes).
H3: Can I add chocolate chips or nuts?
Absolutely! Toss 1 cup of chocolate chips or chopped nuts with a tablespoon of the flour mixture before folding them in at the very end. This prevents them from sinking.
This Chocolate Pound Cake is more than a dessert; it’s a testament to the power of classic techniques and quality ingredients. It’s rich, satisfying, and built to last—in your kitchen repertoire and on your counter under its cake dome.
I hope this recipe becomes your go-back-to, never-fail, always-impressive chocolate masterpiece. Bake it for a gathering, or bake it just because. You deserve it.