To keep your easy butter cake fresh and delicious, proper storage is key. Once the cake has cooled completely to room temperature, it should be stored in an airtight container. This prevents the cake from drying out and helps to maintain its moist, tender crumb. If you don’t have a container large enough, you can wrap individual slices or the whole cake tightly in plastic wrap, followed by a layer of aluminum foil for extra protection. Stored at room temperature, your butter cake will remain fresh for 3-4 days. Avoid refrigerating plain butter cake unless it contains a perishable filling or frosting, as refrigeration can dry out the cake and alter its texture.
If you need to store the cake for a longer period, freezing is an excellent option. For best results, wrap the cooled cake (either whole or in slices) tightly in plastic wrap, then an additional layer of aluminum foil. Place the wrapped cake in a freezer-safe bag or container. Frozen butter cake can last for up to 2-3 months. When you’re ready to enjoy it, thaw the cake overnight in the refrigerator, and then bring it to room temperature before serving for the best flavor and texture.
Reheating butter cake is generally not necessary if it’s served at room temperature, which is often when its flavors and texture are at their best. However, if you prefer a warm slice, or if you’re reheating a frozen slice, you can gently warm it. For a whole cake, you can place it in a preheated oven at 250°F (120°C) for about 10-15 minutes, or until just warmed through. Be careful not to overheat, as this can dry out the cake. For individual slices, a quick zap in the microwave for 15-30 seconds (depending on your microwave’s power) can warm it perfectly. Again, avoid overheating to maintain moisture. A warm slice of butter cake with a scoop of vanilla ice cream or a drizzle of warm caramel sauce makes for an especially comforting dessert.
Frequently Asked Questions
What makes this butter cake “easy”?
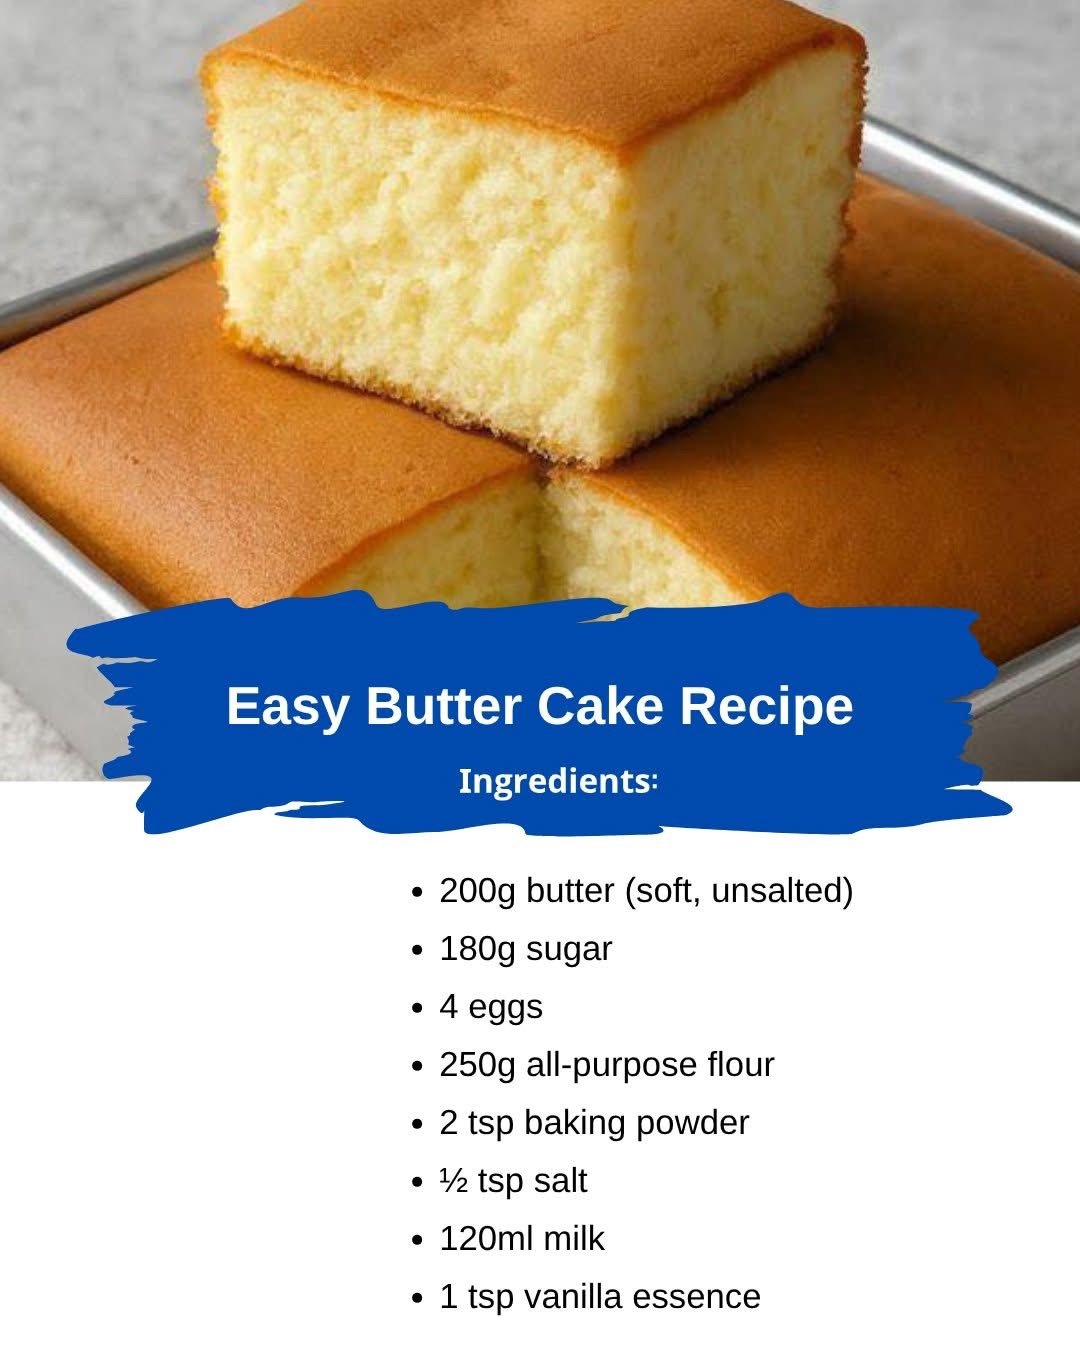
This butter cake is considered “easy” due to its simple ingredient list, straightforward step-by-step instructions, and lack of complex techniques. It doesn’t require any fancy equipment or advanced baking skills, making it perfect for beginners or anyone looking for a foolproof, delicious dessert with minimal fuss. The focus is on basic creaming and mixing methods that yield consistent, excellent results every time.
Can I substitute ingredients in this recipe?
While the recipe is designed for optimal results with the listed ingredients, some substitutions are possible. For butter, unsalted is preferred, but salted butter can be used by reducing the added salt by ¼ teaspoon. Whole milk provides richness, but 2% milk can be used in a pinch, though the cake might be slightly less moist. For flour, it’s best to stick with all-purpose flour for consistency. Avoid substituting with gluten-free flour blends unless you are experienced in adapting recipes, as it will significantly change the texture.
My cake turned out dry. What went wrong?
A dry cake is often a result of overbaking or incorrect measuring of ingredients, particularly flour. Ensure you’re not overmixing the batter once the flour is added, as this can develop gluten and lead to a tough, dry texture. Always use room temperature ingredients as specified, and check for doneness using the toothpick test (it should come out clean or with a few moist crumbs, not wet batter). An oven thermometer can also help ensure your oven is at the correct temperature, preventing accidental overbaking.
How can I make sure my cake doesn’t stick to the pan?
To prevent sticking, properly prepare your baking pan. First, grease the pan thoroughly with butter or a non-stick baking spray, ensuring all corners and sides are covered. Then, lightly dust the greased pan with flour, tapping out any excess. For extra insurance, especially with intricate pans, you can line the bottom with parchment paper after greasing and before flouring. This creates a non-stick barrier that ensures easy release of your beautifully baked cake.